Join our movement! We are currently looking for Ambassadors & volunteers to start local chapters

3rd Grade - 4th Grade
Grades 3–4 Lesson (45–60 min)
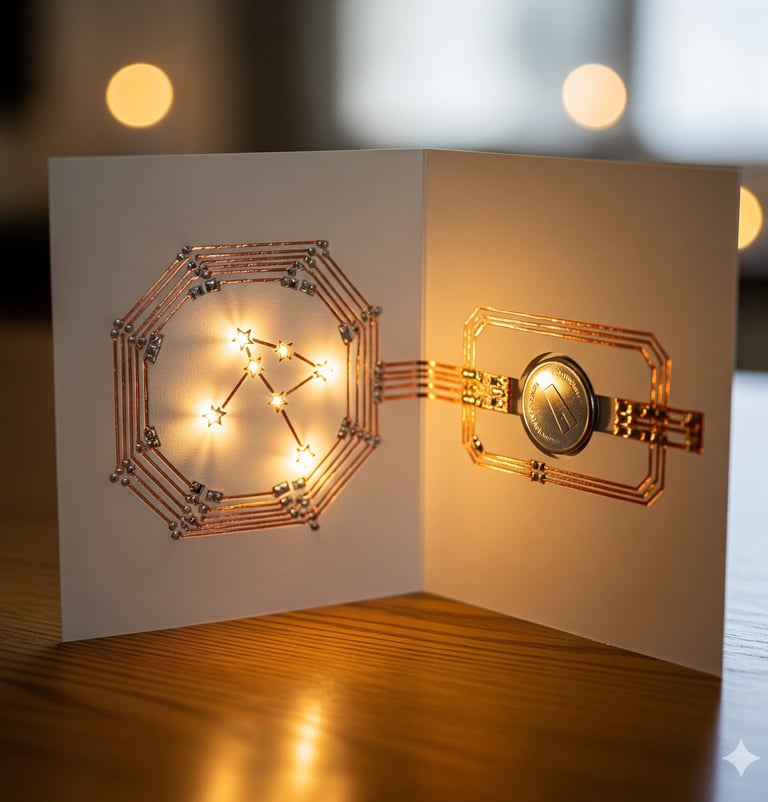
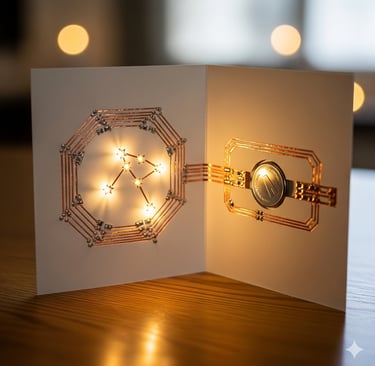
Paper Circuits: Light Up a Card
Big idea: Electricity flows in a closed loop and can power devices like LEDs.
Objectives
Build a simple series paper circuit that lights an LED.
Identify a power source, conductor, and load.
NGSS Links
4‑PS3‑2, 4‑PS3‑4; 3‑5‑ETS1‑1
Materials (per student/team)
Card stock (postcard size)
Copper tape (conductive)
1 coin‑cell battery (CR2032)
1 LED (5 mm)
Tape, marker, optional sticker for a switch flap
Procedure
Model (10 min): Draw a simple loop: battery (+/‑), tape paths, LED orientation (long leg = +).
Build (15–20 min): Lay copper tape, place LED legs on tape, tape battery with a paper flap “switch.”
Troubleshoot (10 min): If it doesn’t light: check LED polarity, gaps, tape overlaps.
Decorate (10 min): Add artwork (e.g., lightning bolt, “You’re Electric!” card).
Assessment
Checklist: loop closed, LED lights, student can point to source/paths/load.
Safety
Coin cells are a choking hazard—count in/out, supervise, and tape the cell partly covered so it’s not loose.
what you will learn:
Electricity needs a closed loop to light an LED.
Know the parts: battery (source), copper tape (path), LED (load).
Polarity matters (which side is +/–) and troubleshooting fixes breaks.
ENERGIZING YOUTH
Energy literacy = power
CONTACT US
© 2025. All rights reserved.